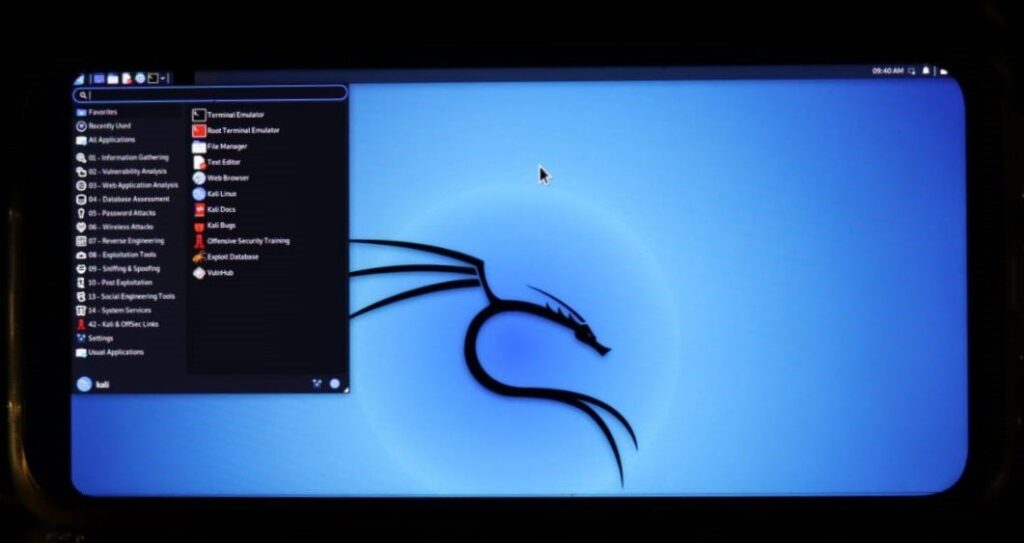
In this article, You don’t need to worry about rooting your device we can install it even on non-rooted android devices. We’ll guide you on everything so that you can install the Kali Linux on android without root.

Step 1:
Install Termux from Playstore ( Click below Google Play Button it will redirect to Google Play Store )
Step 2:
Make sure after the installing the termux you use the following command as shown in the below:
apt update && apt upgrade
If you get any errors while updating & upgrading make sure you watch the following video & solve your issue:
Step 3:
Giving storage permission in termux type the following command as shown in the below:
termux-setup-storage
You’ll get a pop-up asking for permission to access photos, media, and files on your device. Press Allow.
Step 4:
So to download any files in termux we just need to install a single package name wget to install this package use the following command as shown in the below:
pkg install wget -y
After installing wget package we’ll move to the next step.
Step 5:
Now, we have to install NetHunter & here we use the wget package to install this NetHunter using the following command as shown in the below:
wget -O install-nethunter-termux https://offs.ec/2MceZWr
To see if whether we got the nethunter installer type the following command as shown in the below:
Step 6:
We need to give executable permission to the file which we have previously downloaded using the wget command & to do so type the following command as shown in the below:
chmod +x install-nethunter-termux
To see if whether we gave the appropriate executable permission we can use the ls command again & the file color changes to green as shown in the below:
Step 7:
Type the following command, as shown in the below, by executing the previous file which we granted permission to:
./install-nethunter-termux
After using the above command it checks the device structure & also the package dependencies. Now, it installs Kali Linux from NetHunter (images.kali.org) & you need 1.4GB + internet data to download the file. For me, it took 20+ minutes to download the file & it will be extracted automatically after downloading. After successful installation, you’ll get the screen as shown in the image

Step 8:
Set nethunter kex password & to do so type the following command as shown in the below:
nethunter kex passwd
Create Password & Re-verify Your Password. The passwords you entered here will not appear but you will need to type them.
Step 9:
Now, start the NetHunter GUI using the following command as shown in the below:
nethunter kex &
This will start the nethunter & it’ll show the display number, RFB port. Remember those details.
Step 10:
Install VNC Viewer – Remote Desktop from Playstore ( Click below Google Play Button it will redirect to Google Play Store ) :
After, opening the application click on the + button in the application it’ll ask you to enter the connection address & name of your computer.
Add the following address in the address field:
localhst:1
In, name field enters any name you wanted to:
Kali Mobile
Then, click on create button then connect to it by clicking on connect button.
It’ll ask you to enter VNC Server credentials as shown in the below image & you have to enter your password which is created after successful installation of NetHunter.

Step 11:
Enter your password, enable remember the password if you want to then click on the Continue button.
FINISH! YOU’LL GET THE KALI LINUX ON YOUR ANDROID DEVICE.
We really hope that you’ve found this text interesting and taken something useful away from it. Consider sharing with your colleagues and peers if you wish to see more articles like this on the web. 🙂

